Sewing machine making loops underneath ? 4 main causes of “bird’s nest” under fabric

Sewing machine making loops underneath

Does your sewing machine make big loops on the bottom side of the fabric? Threads bunching up into a messy “bird’s nest” under your project?
This is one of the most common problems I see in my repair workshop — and in most cases, it’s caused by something simple.

Here are 4 main reasons why your sewing machine loops thread underneath and what to check first.
All tips are based on real experience — straight from a mechanic’s bench.

1️⃣ Threading the top thread with the presser foot down

This is the #1 cause of looping and bird’s nests.
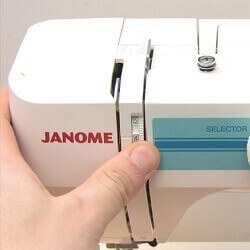
When the presser foot is raised, the tension discs inside your sewing machine open up slightly — allowing the thread to slip between them.
When the foot is lowered, the discs close and grip the thread properly, creating the needed tension.

If you thread the machine with the foot down, the tension discs stay closed, the thread slides around them instead of through them — and there’s no tension.
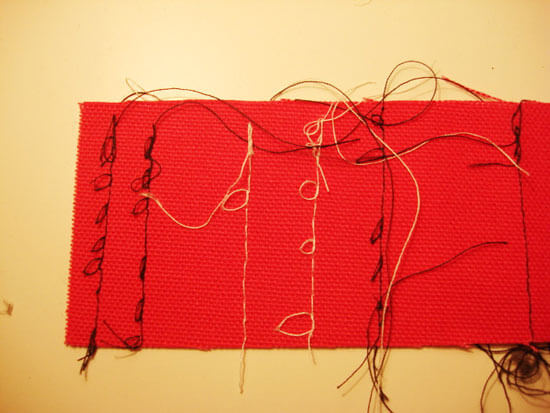
The top thread runs freely and collects underneath, forming big messy loops.

👉 Golden rule:
Always thread your machine with the presser foot raised.why is my sewing machine not sewing

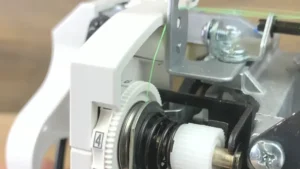
In older machines, the mechanism that opens the discs may be worn out.
If so:
– have it serviced, or
– gently pull the thread when threading so it still slips between the discs.
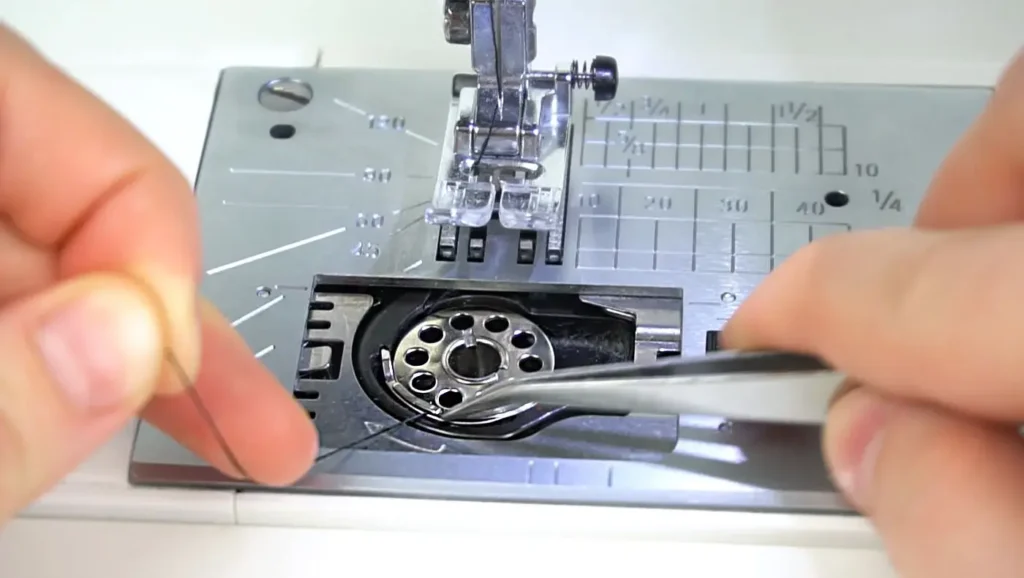
🎥 See it in action:
In the short video below, I show exactly what happens when the machine is threaded incorrectly and why the loops appear under the fabric.

2️⃣ Dust, lint or old thread inside the tension discs

Even if the machine is threaded correctly, lint, dust or old pieces of thread inside the tension discs can block the pressure.
Instead of the tension being applied to your working thread, the debris takes the pressure — and the real thread moves freely, causing loose stitches and loops underneath.

Typical causes:
– tiny pieces of broken thread
– lint from fabrics
– dust from cheap, fuzzy threads

💡 Want to know which threads to use? Read this:
👉 Best sewing machine threads for home use

What to do:
– Turn off your machine.
– Use a soft brush, compressed air or a needle to carefully clean between the discs.
– Remove any trapped bits of thread or lint.

3️⃣ Top tension set too low (or to “0”)


sewing machine making loops on bottom – bird’s nest under fabric sewing machine making loops on bottom bird’s nest under fabric

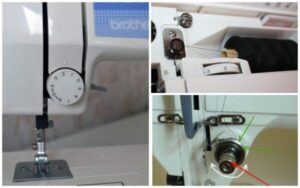
If your tension dial is set too low, or even at “0”, the machine can’t hold the top thread — and it loops on the underside of the fabric.
It’s a common mistake, especially after switching from thick fabric to thin.

Fix:
Set your upper thread tension between 3 and 5 (for most fabrics and threads).
Make a test seam and adjust slightly if needed until the stitch looks balanced on both sides.

4️⃣ Mechanical issues: burrs, timing, or clearance problems

sewing machine tension problems

If you’ve checked everything above and your sewing machine still loops thread underneath, the cause might be mechanical.
Here are the most common issues I see in my workshop:

– Burr or rough spot on the hook
– Incorrect hook timing relative to the needle
– Too much or too little clearance between needle and hook
– The loop isn’t being formed or caught at the right time

All of these can cause loops or nests under the fabric.

📽️ I show examples of these problems in my YouTube videos — including how to check needle-to-hook clearance on both horizontal and vertical hook systems.

If you can’t fix it on your own — contact me.
I service sewing machines from all over Poland (and soon worldwide).
You can safely ship your machine to my workshop — I’ll take care of it.
👉 Learn more about my sewing machine repair service


Sewing machine making loops underneath . Summary

In about 8 out of 10 cases, loops underneath are caused by incorrect threading of the top thread — not by the bobbin.
Always start with this checklist:

✔ Threaded with the presser foot up
✔ Tension discs clean
✔ Tension dial between 3–5
✔ Needle and hook in good condition

If the problem continues, it’s likely a mechanical issue that needs adjustment.

📸 You can send me a photo of your stitch — I’ll help identify the cause.
📦 Or send your machine in for service — I repair, adjust and return it ready to sew.


More helpful articles:

Best sewing threads for domestic machines
How to choose the right needle for your fabric
Sewing machine not stitching? 7 common reasons

Keep Learning & Fix Your Sewing Machine Faster

If you found this guide helpful, don’t stop here. Most sewing machine problems are easier to fix when you understand how your machine really works.

Check out these helpful guides:

👉 Explore more articles on the blog and learn how to fix your sewing machine like a pro.

And if you prefer video tutorials, subscribe to my YouTube channel where I show real repairs, common mistakes, and practical solutions step by step.

Want to fix your sewing machine like a pro? My book “Basic Guide to Sewing Machine Repair: How to Prevent and Fix 80% of Common Breakdowns” shows you step-by-step how to prevent and repair common issues.

Get it on Amazon

This is an affiliate link at no extra cost to you. I earn a small commission if you purchase through this link, which helps me keep creating helpful content.
As an Amazon Associate, I earn from qualifying purchases.

Leave a Comment

Your email address will not be published. Required fields are marked *